Ghost Hunt Planning Checklist: How to Prepare for Your First Investigation for Maximum Evidence
Your first ghost hunt can be exciting, but it can also go off track very quickly if you show up unprepared. New investigators often arrive with good intentions and a few tools, then spend the night wandering, talking over each other, forgetting to charge batteries, or mistaking ordinary environmental changes for paranormal activity. The result is usually a lot of noise and very little usable evidence.
A better approach is to treat the investigation like a methodical field study. That means choosing the right location, researching it properly, assigning roles, checking equipment, setting baselines, and following a clear process from start to finish. The more organized you are before the session starts, the easier it is to collect cleaner EVP recordings, more trustworthy readings, and evidence that can actually be reviewed later.
This beginner-friendly ghost hunt planning checklist walks through every major step so you can stay safe, reduce contamination, and investigate with more confidence.
Why First-Time Ghost Hunts Go Off Track
Most first investigations fail for the same simple reasons. People do too much at once, the team has no clear structure, and no one agrees on what counts as meaningful evidence before the session begins. Without a plan, it is easy to become distracted by every sound, every cold breeze, and every flicker of light.
Another common problem is confirmation bias. If you want an event to be paranormal, you may be tempted to interpret a distant footstep, a radio bleed, or a temperature shift as proof. That is why preparation matters. It gives you a baseline, a workflow, and a way to compare unusual moments against normal conditions.
Research on field protocol also emphasizes setting clear goals and objectives ahead of time, such as recording EVPs, checking a known hotspot, or testing a claimed apparition. Focused goals prevent aimless exploring and help the team stay disciplined throughout the night.
Choose the Right Location for a Beginner Investigation
For your first hunt, choose a location that is accessible, legal, and manageable. A beginner-friendly site should have clear permission, defined boundaries, enough lighting for safe movement, and a layout you can understand quickly. Big, complex locations can be thrilling, but they also create more opportunities for confusion and contamination.
You should also think about the type of activity reported there. Some places are known for sounds, others for apparitions, and others for EMF fluctuations or repeated EVP claims. Picking one location with a focused reputation makes it easier to form a simple investigation plan.
Whenever possible, select a site where a previous investigation or public report has identified specific hotspots. That gives your team a starting point instead of forcing everyone to search blindly. The goal is not to cover everything at once, but to investigate one area well.
How to Research the Site Before You Arrive
Good location research is one of the strongest ways to improve your odds of collecting useful evidence. Before the investigation, gather historical records, past activity reports, blueprints or maps, and any previous investigation notes you can find. Knowing the history of a site often helps you identify likely hotspots and understand why certain rooms or corridors matter.
The research sources you review should include both the alleged paranormal history and the physical history of the place. Old renovations, broken plumbing, electrical issues, traffic noise, and nearby machinery can all affect what you hear and measure. A report that ignores these factors is incomplete.
This is also where you define your goals. As one investigation guide notes, setting intentions in advance helps keep the team focused on specific objectives rather than wandering from room to room. If your main goal is to capture an EVP, make that the priority. If you want to test a supposed apparition, structure the session around that claim.
Good preparation also includes making a basic map of where the team plans to move and where the likely activity spots are located. That way, if something happens later, you can match the event to a precise place instead of relying on memory.
Build Your Ghost Hunting Kit: Essentials, Backups, and Power
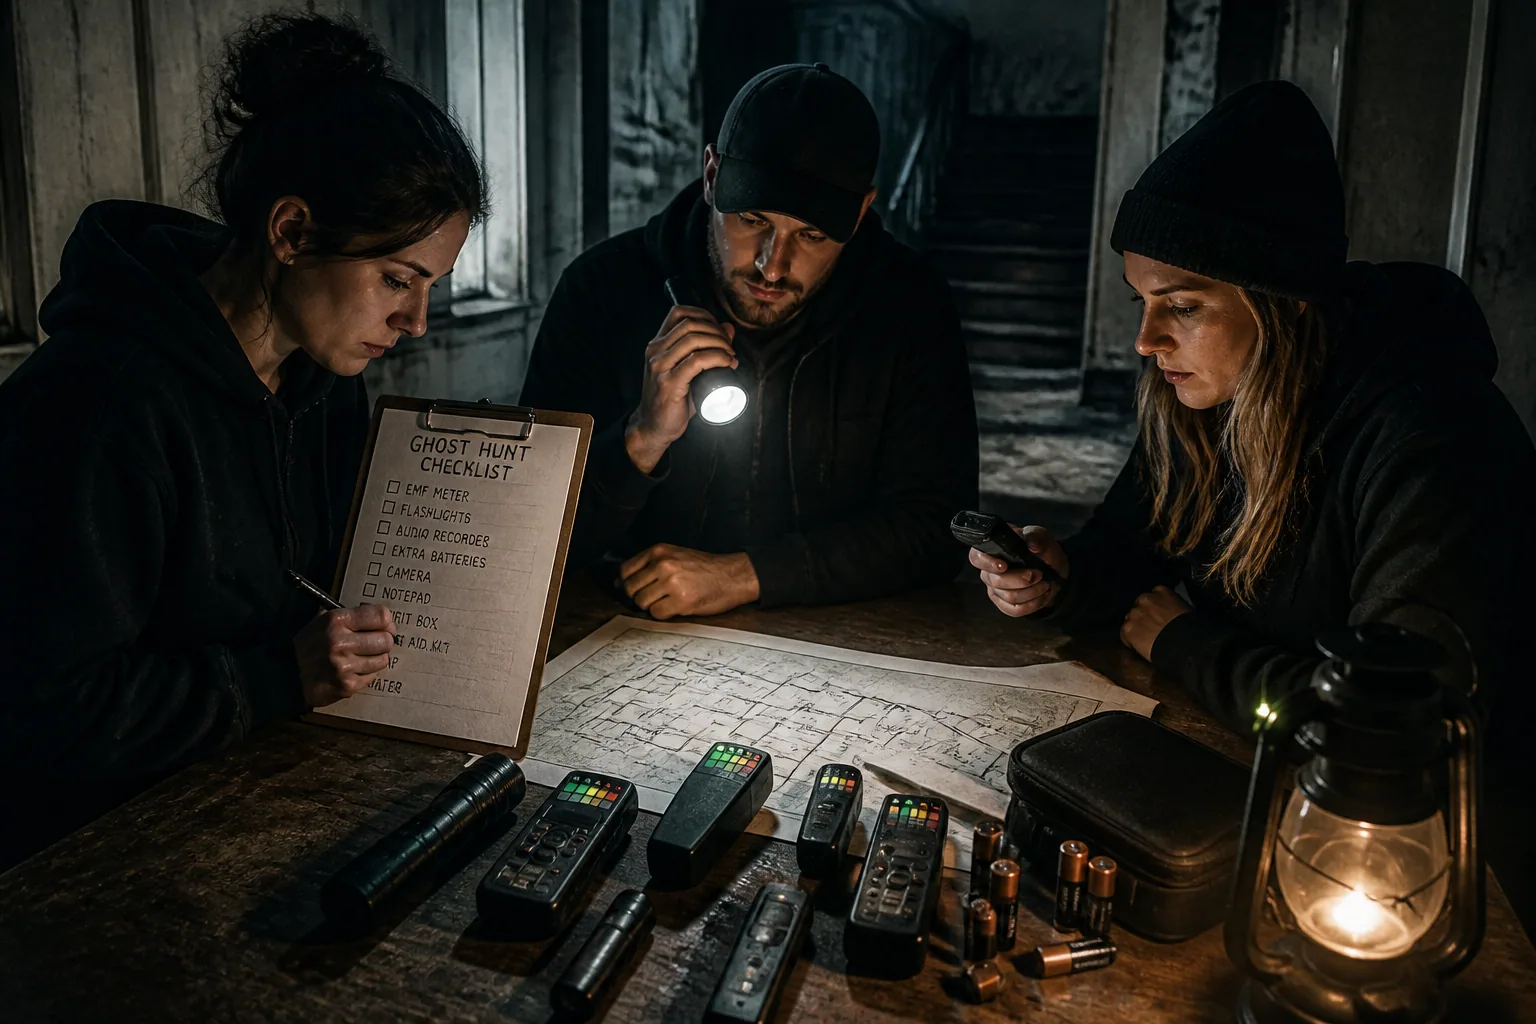
Your equipment should be tested, charged, and organized before you arrive. A beginner kit usually includes an EMF meter, a digital audio recorder for EVP work, a flashlight or headlamp, a notebook, a camera, and spare batteries. Depending on the site, you may also want motion sensors, infrared or night-vision imaging, and a phone with a reliable camera and recording app.
Do not assume that every device will behave well in the field. Check recording quality, set the time and date correctly, test power levels, and pack backups for anything important. If a recorder dies halfway through a session, or a flashlight fails in a dark hallway, the whole investigation can be compromised.
It also helps to think in terms of maintenance, not just packing. Charge everything the night before, label your gear, and bring extra storage if your devices need it. A simple checklist can save you from losing the only strong evidence of the night because of a dead battery.
If you want a smartphone-based option for tracking readings and recording sessions, Ghost Detector: Ectify can be a practical companion. It turns your device into a ghost hunting tool with EMF detection, spirit box and EVP features, session recording, and session history, all in one place: https://findthe.app/ectify-fc72z0
Create a Pre-Investigation Checklist You Can Actually Follow
A real checklist should be simple enough to use under pressure. If it is too complicated, the team will stop following it once the excitement begins. Keep it short, practical, and organized by sequence rather than by category alone.
Your checklist should cover permission, arrival time, equipment testing, battery checks, team assignments, baselines, safety briefing, recording setup, and exit planning. Add any site-specific items, such as special access rules, weather gear, or hazard warnings.
It helps to print the checklist or keep it in a shared notes app so everyone can see it. That way, the team can confirm each step before moving on. A repeatable process is far more reliable than trying to remember everything in the dark.
Set Team Roles Before the Session Starts
Clear roles make a huge difference in a paranormal investigation. Team role structure is recommended in ghost hunting guidance because it improves efficiency both during and after the session. When everyone knows their job, fewer things get missed and there is less overlap or confusion.
A simple beginner setup can include a Lead Investigator, who directs the session and keeps the pace steady; a Technical Specialist, who manages audio, cameras, and meters; a Researcher or Historian, who knows the site background; a Safety Officer, who watches for hazards and logistics; and an Evidence Analyst, who helps review recordings later.
If your team is small, one person can hold more than one role, but the responsibilities should still be defined clearly. Even a two-person hunt works better when one person focuses on questions and documentation while the other watches equipment and safety.
The point is not to make the investigation rigid. It is to prevent everyone from doing everything at once, which usually leads to missed readings, interrupted sessions, and poor documentation.
Do an Environment Walkthrough and Safety Survey
Before starting any session, walk the site and look for hazards. Check exits, stairways, loose flooring, low ceilings, exposed wires, sharp objects, wet areas, and places where people could become isolated or disoriented. Safety guidance for ghost hunting emphasizes knowing your exits, carrying a first-aid kit, using proper lighting, and planning for emergencies.
This walkthrough should also help you understand how the location behaves physically. Listen for heating systems, traffic, pipes, fans, or wildlife. Feel for drafts. Look at where light leaks in. Notice how sounds echo in different rooms. These details matter because they may later explain what seemed strange during the investigation.
Respect for the site is important as well. Only enter with permission, avoid damaging property, and keep in mind any spiritual or cultural sensitivities connected to the location. Ethical conduct is part of good evidence collection because it keeps the team focused and the data credible.
Establish Baseline Readings for EMF, Temperature, Audio, and Light
Baseline readings are one of the most important things you can capture before any spirit-box session or EVP work begins. Record typical EMF levels, ambient temperature, humidity if possible, background noise, and lighting conditions. These measurements give you a reference point for deciding whether later changes are unusual.
For example, a cool patch in a hallway means something different if the HVAC system is cycling on than if the room has been stable for an hour. Likewise, an EMF spike matters more if you already know the area normally stays at a low, steady reading. Without baselines, every fluctuation looks suspicious.
Take these readings calmly and in the same way each time. Note the time, location, and device used. If you return to the same room later, repeat the process so you can compare conditions rather than relying on memory.
How to Run EVP Sessions Without Contaminating Evidence
EVP sessions work best when they are quiet, structured, and documented. Best practice guidance recommends limiting the number of participants, keeping questions short, allowing silence between questions, and preserving raw recordings for later review. Too many voices or too much movement will ruin the clarity of the audio.
Before you start, silence phones, turn off unnecessary devices, and explain that only one person should speak at a time. Then ask direct questions such as, who is here, why are you here, or can you repeat that. Leave pauses so any reply can be captured clearly. Do not rush the conversation.
It is also important to note any known interruptions, such as footsteps, distant traffic, or another team member moving nearby. Those details help you later separate possible evidence from ordinary noise. Keep the raw file intact, since edited versions can introduce bias and make review less reliable.
Spooky-sounding audio is not automatically evidence. Careful procedure is what turns a strange sound into a meaningful candidate for review.
How to Use Spirit Boxes and Other Tools Methodically
Spirit boxes and other interactive tools can be fun, but they need structure if you want anything useful from them. Avoid talking over the device, avoid rapid-fire questions, and keep the session focused on one area or one topic at a time. A methodical session is easier to review later.
Use the tool as part of a broader process, not as proof by itself. Record the environment, keep notes on what the team hears, and compare unusual responses against other evidence collected at the same moment. If the room is noisy or full of competing voices, the session becomes much harder to interpret.
The same discipline applies to any other equipment you bring. Motion sensors, cameras, and EMF meters should all be positioned with a clear purpose, not placed randomly just because the device is available.
Ask Better Questions to Get Clearer Responses
The quality of your questions matters. Vague or leading questions tend to produce vague or biased results. Short, clear questions usually work better because they give the session structure and make any response easier to match with a recorded moment.
Ask one question at a time and allow enough silence for a reply. Avoid stacking multiple questions together. It can also help to ask about the location, the time period, or a specific name if that information is already supported by research. That keeps the conversation tied to the site instead of drifting into random speculation.
A good rule is to ask questions you can document later. If a response seems to come through, you should be able to link it to a timestamp, a location, and the exact wording used. That is much more valuable than a vague impression that something answered in the room.
Log Everything: Time Stamps, Locations, and Context
Documentation is what separates a memorable night from a reviewable investigation. Log every notable event with a timestamp, the exact location, who was present, what equipment was in use, and what was happening immediately before and after the moment. Small details often become important later.
Take regular photos and video when appropriate, and map where the team is moving. Note environmental shifts such as drafts, cold spots, changes in humidity, flickering lights, or unusual noise. These details help explain whether an anomaly is truly unusual or simply part of the location’s normal behavior.
Good notes reduce bias during review. When you can see the event in context, you are less likely to overstate what happened. That is especially important if you plan to share findings with others or compare your results to future visits.
What to Do If Activity Increases or the Team Gets Overwhelmed
If activity seems to increase, slow down rather than speeding up. Many teams make the mistake of asking more questions, adding more devices, and talking more when things feel intense. That often makes the evidence worse, not better.
Instead, pause and re-center the session. Check the surroundings, confirm your baselines, and make sure the team is calm and focused. If anyone feels unsafe, stop the session and leave the area. No piece of evidence is worth ignoring real-world risk.
Overwhelm can come from fear, fatigue, weather, or a stressful environment, not just paranormal expectations. The Safety Officer or Lead Investigator should always be ready to call a break, move the team, or end the session if needed.
Wrap Up Properly Before Leaving the Location
A strong investigation does not end when the cameras stop rolling. Before leaving, make sure all devices are powered down, files are saved, batteries are collected, and nothing has been left behind. Confirm that the location is secure and returned to the condition you found it in.
This is also the time to do a quick verbal recap while the details are fresh. Note the strongest moments, any odd environmental changes, and anything that needs closer review later. A few minutes of debriefing can save hours of confusion after the fact.
If the site has any special closure rules, follow them carefully. Good etiquette matters, especially if you want to be invited back or maintain a positive relationship with the property owner or caretaker.
How to Review, Label, and Compare Your Evidence
Post-investigation review should be systematic. Store raw audio, video, and notes securely, then review them with more than one team member if possible. Different listeners often catch different things, which helps reduce personal bias.
When reviewing EVP candidates, compare them against your baselines and classify them according to clarity rather than excitement. Many teams use categories such as Class A, B, and C to describe how understandable a recording is. The less ambiguous the evidence, the more useful it becomes.
Do not rush to label everything as paranormal. Look for ordinary explanations first, such as radio interference, device artifacts, movement in the room, or background speech. Authenticity depends on restraint as much as enthusiasm.
It also helps to keep a consistent naming system for files so you can find them later. Include the date, location, room, and device whenever possible. Organized evidence is much easier to compare across different sessions.
Share Findings Responsibly and Keep Improving Your Process
Once your evidence has been reviewed, share it carefully. Avoid posting unvetted clips as definitive proof. If something is interesting but uncertain, present it as a candidate for further review rather than a confirmed paranormal event.
Responsible sharing protects your credibility and respects the audience. It also gives you room to improve. Every investigation should make your next one better by showing you what worked, what failed, and what needs more structure.
Over time, the most successful teams build a repeatable process. They research better, document more cleanly, ask better questions, and handle evidence with more discipline. That is how a first ghost hunt becomes the start of a serious investigation habit rather than just a memorable night out.
