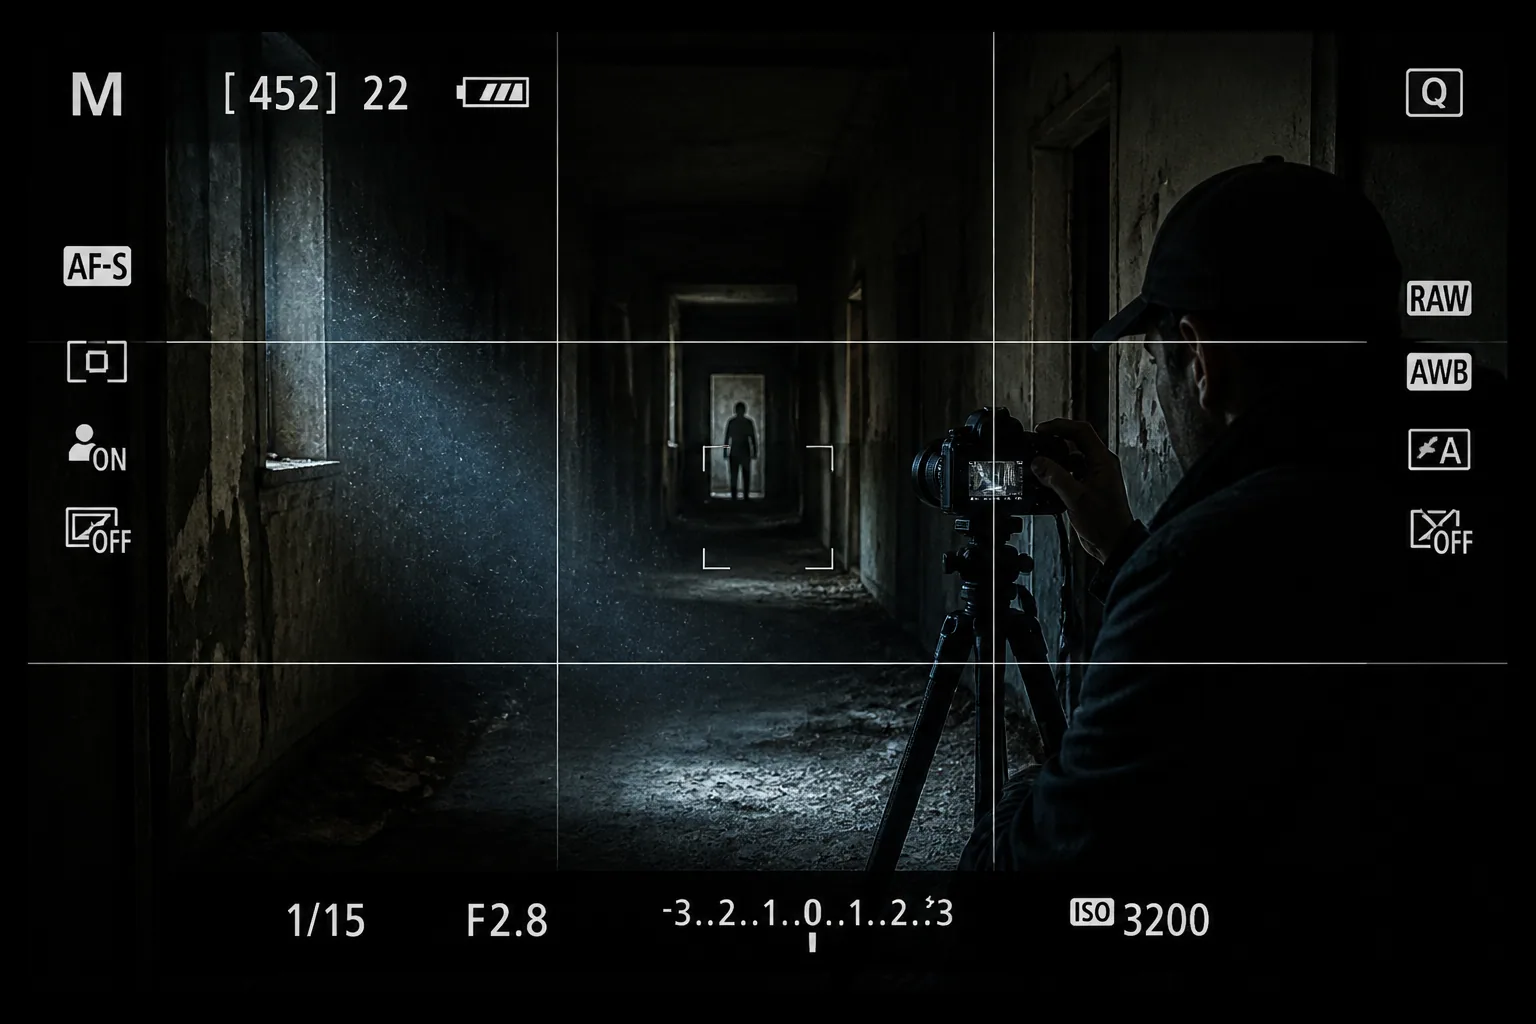
Ghost Hunting Through the Lens: How Photo and Video Composition Shapes Paranormal Evidence
When people talk about paranormal evidence, they often focus on what was seen, heard, or felt. But in practice, a huge part of ghost hunting is visual interpretation. A shadow can become a figure, a bright speck can become an orb, and a badly lit hallway can turn into a story before anyone has had time to inspect the frame. That is why composition matters so much. The way you light a room, position the camera, choose your focus, and even upload the final clip can decide whether your evidence looks convincing or just confusing.
For amateur ghost hunters, paranormal creators, and anyone trying to make cleaner social-ready investigations, learning visual literacy is just as important as learning to ask questions into the dark. If you understand how cameras behave, you can avoid manufacturing false positives while still capturing footage that feels eerie, immersive, and credible.
Why Paranormal Evidence Is Often a Composition Problem
A lot of questionable ghost footage is not actually about a ghost at all. It is about how the frame was built. If the camera angle hides context, if the exposure is too aggressive, or if a subject is too close to the lens, viewers start filling in gaps with their imagination. Human brains are excellent at pattern recognition, which means we are also excellent at seeing faces, figures, and movement where none exist.
That is why composition is so important in paranormal work. A clear frame gives the audience reference points. It shows where doors, windows, furniture, and light sources are located, which makes it easier to judge whether an anomaly is truly unusual. A cluttered or overly stylized frame does the opposite. It invites misreadings, especially when the clip is short and dramatic.
The best paranormal evidence often looks a little less exciting at first glance, because it is visually honest. You can still create a spooky mood, but the scene should be readable enough that the viewer can assess it instead of guessing.
How Lighting, Contrast, and Shadows Influence What Viewers See
Lighting is one of the biggest reasons paranormal clips get misinterpreted. Strong contrast can make objects disappear into darkness, while a bright hotspot can pull attention away from surrounding details. In low light, viewers often assume an unclear shape is a presence when it may simply be a chair back, a curtain fold, or the edge of a doorway.
Shadows are just as important. A real shadow should make sense based on the position of the light source. If a shadow seems to move in a direction that does not match the rest of the room, that is a sign to look for multiple lights, reflections, or post-processing issues before assuming anything supernatural. The Content Authenticity Initiative notes that shadow and reflection consistency is a key part of photo forensics, because inconsistent geometry can reveal misleading imagery or manipulation: https://contentauthenticity.org/blog/photo-forensics-from-lighting-shadows-and-reflections
Contrast also changes how the audience reads a scene. Heavy contrast can create dramatic outlines that look like silhouettes, but it can also hide details needed for verification. A slightly more even exposure, with controlled highlights and shadows, usually produces footage that is less theatrical but far more believable.
Using Depth and Framing to Reveal Silhouettes Without Creating False Positives
Depth of field is one of the most overlooked tools in paranormal filming. A wide aperture can blur the background into soft shapes, and those shapes may resemble figures, movement, or faces. That effect may look cinematic, but it is also risky if your goal is evidence. When the background is too soft, the viewer cannot tell whether the “entity” is a person, a statue, a shadowed object, or just out-of-focus clutter.
If you want clarity, deepen the field of view as much as your light allows. Keep important objects in focus and frame the scene so the audience can see where one element ends and another begins. This reduces ambiguity and makes any unusual movement more meaningful because the context is visible.
Framing matters too. If the camera crops out floor space, corners, or ceiling lines, viewers lose spatial cues. A shape near the edge of the frame can look more mysterious than it really is because edge distortion and blur are common there. Panasonic notes that aberrations like barrel distortion, chromatic aberration, and edge blur can warp shapes and brighten areas near the frame edges, which can easily be mistaken for something unnatural.
The practical rule is simple. If a potential anomaly is important, give it room in the frame and enough surrounding detail to prove what it is not.
Camera Angles That Make Spaces Feel Haunted
Angle changes everything. A low camera angle can make ordinary rooms feel oppressive, while a high angle can make empty hallways look watched. Paranormal creators often use these choices intentionally, and that is not necessarily a bad thing. Atmosphere matters. The issue is that dramatic angles can also distort spatial relationships and make ordinary objects appear threatening or unexplained.
A narrow angle pointing into a corner, for example, can trap a strong shadow in a way that resembles a figure. A tilted shot can make walls and doorframes seem unstable, which may intensify the haunted feeling but reduce evidence quality. If you want a shot that still feels eerie without misleading the audience, balance atmosphere with geometry. Keep one or two stable reference lines visible, such as a floor edge or doorway.
Good haunted composition is not just about making things look scary. It is about making the scene legible enough that the scare is earned.
Autofocus vs. Manual Focus in Low-Light Investigations
Low light is where autofocus often struggles the most. Autofocus systems depend on contrast and visible edges, so when the scene is too dark, the lens may hunt back and forth without locking properly. Tamron explains that in very dark scenes, autofocus can become unreliable because it cannot find enough contrast, which is why manual focus with tools like focus peaking or live-view magnification often gives better results: https://tamron-americas.com/blog/low-light-photography-tips-with-tamron-lenses/
In paranormal work, this matters because hunting focus can create the illusion of movement. A blurry object that appears and disappears is not proof of activity if the lens was searching for a target. If you are filming a spirit box or EVP session, manual focus is usually safer because the subject area stays stable and the frame remains consistent from one moment to the next.
Autofocus can still be useful when there is enough light, especially if you are moving through multiple rooms quickly. But for a static investigation, manual focus is usually the more credible choice. It reduces distractions and helps the audience trust that any blur or motion in the scene is actually happening in the environment, not in the camera.
How Orbs Happen: Dust, Moisture, and Backscatter Explained
Orbs are probably the most famous false paranormal sign in photography and night-vision video. They often look magical at first, especially when they drift across a dark room, but the usual explanation is much simpler. Dust, moisture, or tiny particles near the lens reflect the camera’s light source or infrared illumination and appear as bright circular artifacts.
This effect is known as backscatter. Because the particle is so close to the camera, it is overexposed and out of focus, which produces the classic glowing orb look. Both Wikimedia and camera support resources describe this as a common source of orb-like images in night-vision and flash photography, especially when the environment has dust or airborne moisture. Simplisafe’s support article on night vision orbs explains that particles can reflect the IR light and create bubbles or orb shapes: https://support.simplisafe.com/articles/cameras/why-do-i-see-orbs-or-bubbles-when-my-camera-is-using-night-vision
The best way to evaluate an orb clip is to ask a few simple questions. Was the camera stationary? Was there visible dust in the room? Was a flash, IR light, or strong lamp pointed toward floating particles? Does the orb move like something floating near the lens, or like an object crossing the room at distance? In many cases, the answer becomes obvious once the camera setup is understood.
Spotting Lens Flare, Reflections, and Sensor Noise Before Calling It Paranormal
Lens flare is another classic culprit. When a bright light source enters the lens directly or from behind a subject, internal reflections can produce streaks, streaky halos, polygon shapes, and ghost images. Canon’s lens FAQ describes ghosting and flaring as optical artifacts caused by light bouncing inside the lens elements, and Cambridge in Colour shows how strong sources can create striking flare patterns that seem almost intentional.
Reflections can be just as deceptive. Glass, mirrors, polished metal, and even glossy picture frames can bounce a light source or a person into an unexpected part of the composition. In paranormal footage, that reflected shape may be seen only for a second, which makes it feel mysterious. But if the surface is reflective, it is worth checking whether the apparition is just a camera operator, a teammate, or a nearby lamp mirrored back into frame.
Sensor noise also becomes a problem in dark scenes. Raising ISO to brighten the image amplifies noise, including shot noise and fixed-pattern noise, which can appear as flickering specks or ghostlike textures in shadow areas. ScienceABC explains that low-light grain is often a consequence of pushing the sensor harder, while PremiumBeat notes that video noise can become more visible in footage with dark gradients and minimal detail. In other words, grain is not evidence. It is often just the camera struggling.
Best Video Setup for Spirit Box and EVP Sessions
If you are filming a spirit box or EVP session, your goal should be consistency. Sudden changes in brightness, autofocus pumping, or shaky camera movement can make a normal session look abnormal. A stable shot helps the audience focus on the sound, the responses, and the room itself instead of fighting visual distractions.
Use manual exposure when possible so the camera does not keep brightening and dimming the scene every time a flashlight moves or someone leans in. Videomaker recommends avoiding automatic gain and auto exposure in low-light filming because they can create misleading fluctuations and hot spots, which are especially distracting in investigative footage: https://www.videomaker.com/article/c13/14280-making-video-in-low-light-conditions/
A soft external light source is often better than relying on harsh direct light. Controlled directional lighting helps preserve detail without blowing out the background. If you are recording EVP or spirit box reactions, you want the room visible enough to document movement, but not so bright that the mood disappears entirely. The sweet spot is usually a dim, steady setup that still shows faces, doorways, and nearby objects clearly.
If you can, keep the camera on a tripod. This does two things. First, it removes handheld wobble that can be mistaken for entity motion. Second, it makes later comparison easier when you review repeated sessions. A session that looks identical every night is easier to analyze than one where the camera position changes each time.
Tripods, Exposure, and Motion Control for More Credible Footage
A tripod is one of the simplest credibility tools you can use. It creates a consistent visual baseline, which matters a lot when viewers are trying to decide whether something moved on its own. Even subtle handheld shifts can make furniture, doorway edges, and shadows seem alive.
Exposure control is the same kind of credibility tool. If the camera keeps adapting to darkness, the image may pulse in brightness and falsely suggest activity. With a locked exposure, any change in the scene is easier to evaluate. You can still keep the atmosphere moody, but the footage will feel more deliberate and less accidental.
Motion control also applies to how you move through a space. Fast pans can turn ordinary objects into blurry streaks, while slow and intentional movements make it easier to isolate changes. The more predictable the camera movement, the easier it is to distinguish environment from artifact.
What Social Media Compression Does to Ghost Evidence
Once you upload to TikTok, YouTube, or Instagram, your footage is no longer exactly the same file you recorded. Platforms compress video, and that compression can damage subtle detail. Fine textures may turn into blocks, and dark gradients may become patchy. Small noises in the image can also get exaggerated into mosquito-like flicker around edges.
This matters in paranormal content because compression can make a weak anomaly look stronger than it was, or it can erase the very detail that would have helped explain it. Sharpening and recompression often boost edges, which means a vague shape may suddenly appear more defined than it did in the raw file. That can be exciting for viewers, but it can also be misleading.
The USGS has a useful overview of image artifacts and noise that helps explain how processing can alter fine visual structure, while creators often notice similar issues when platforms re-encode footage after upload. If an anomaly only appears after compression, you should be very cautious about calling it evidence.
Color Grading, Filters, and Sharpness: When Editing Changes the Story
Editing is part of storytelling, but it can also distort the record. Heavy color grading may create a more haunted atmosphere, yet it can hide useful information in shadows or crush the blacks so hard that small objects disappear. Filters can also add glow, boost contrast, and shift hues in ways that make ordinary lights look paranormal.
Sharpness deserves special attention. Increasing sharpness may seem helpful because it makes edges pop, but it can also produce halos around objects, exaggerate sensor noise, and make compression artifacts more visible. That is a real problem if your audience is trying to tell whether a shape in the dark was present in the original footage or created during editing.
A good rule is to edit for clarity, not for illusion. If the goal is credibility, preserve the original mood while keeping the evidence readable. Avoid filters that make the frame look more dramatic than the scene actually was.
A Pre-Upload Checklist for Honest and Compelling Paranormal Content
Before you post, review the footage like a skeptic first and a storyteller second. Ask whether the lighting is consistent, whether shadows match the light source, whether reflections could explain the shape, and whether any bright specks might be dust or backscatter. Check whether autofocus hunted in the dark, whether the ISO introduced grain, and whether compression may have changed the clip enough to affect interpretation.
It also helps to keep a session history so you can compare repeated results. If the same hallway produces the same shadow every time, that is probably an environmental feature, not a recurring entity. Consistent documentation makes your content stronger because it shows you are testing patterns instead of chasing impressions.
If you want a simple way to record, organize, and share ghost hunting sessions from one device, Ghost Detector: Ectify can help turn your smartphone into a more complete investigation tool, with session recording, EMF tracking, and built-in spirit box style features: https://findthe.app/ectify-fc72z0
The most compelling paranormal content is not the most over-edited or the most distorted. It is the footage that feels eerie while still respecting what the camera can and cannot prove. When your composition is clean, your evidence becomes easier to trust, and that trust is what makes the spooky moments land.
