Ghost Hunting with Your Phone: Best Tips to Capture Authentic Evidence Without Fancy Gadgets
You do not need a suitcase full of expensive paranormal gear to start ghost hunting. In fact, your smartphone already has most of the tools beginners need: a microphone, a camera, a flashlight, a magnetometer, a timer, and a way to organize evidence. The trick is not owning more devices. The trick is using the phone you already have in a careful, repeatable way so your recordings are cleaner, your readings are easier to trust, and your evidence is harder to dismiss.
That is especially important because mobile ghost hunting can be full of false positives. A phone can pick up its own interference, nearby electronics, random noise, reflections, and visual artifacts that look mysterious at first glance. With the right setup and a few simple habits, though, you can turn a basic phone session into something much more convincing.
Why Your Smartphone Is a Legit Beginner Ghost Hunting Tool
A smartphone is a surprisingly practical starting point because it bundles several investigation tools into one device. You can record EVP sessions, shoot low-light video, check sensor-based readings, mark timestamps, and review the session later without transferring data across multiple gadgets. For beginners, that simplicity matters. It lowers the barrier to entry and makes it easier to build a consistent process.
The key advantage is not that a phone is magically better than dedicated paranormal equipment. It is that it is accessible and repeatable. If you investigate with the same phone model, the same app settings, and the same habits every time, you can compare sessions more fairly. Consistency is what makes evidence useful.
This is also why a phone can work well for content creators. It lets you capture the experience as it happens, combine audio and visual evidence, and keep a session log all in one place. If you want a simple all-in-one option, Ghost Detector: Ectify can help turn your phone into a more organized ghost hunting companion with real-time EMF-style readings, EVP-style tools, and session recording: https://findthe.app/ectify-fc72z0
Set Up the Space: Room Prep, Noise Control, and Device Placement
Before you ask a single question, prep the room. A clean environment gives you cleaner evidence. Start by removing or minimizing obvious noise sources like fans, TVs, buzzing chargers, radios, and anything that can hum, click, or vibrate. Research on EVP recording recommends turning off or distancing electronics that produce noise, and that advice applies just as much to phone-based sessions as it does to dedicated recorders. It also helps to record a baseline of ambient sound first, before you begin asking questions, so you know what the room sounds like naturally. Source: https://aeb.bbn.mybluehost.me/ghost-hunting-gear-how-to-use-evp-recorders-emf-meters-infrared-camera/
A good baseline is simple. Let the phone record the room for a while in silence. Listen for HVAC noise, passing cars, creaks, water pipes, and any steady background sound. Then, during the session, use long pauses of 30 to 60 seconds between questions so you have room to catch subtle audio changes. Mark the time when you ask each question, either by saying the time aloud or using a soft cue. That makes review much easier later. Source: https://aeb.bbn.mybluehost.me/ghost-hunting-gear-how-to-use-evp-recorders-emf-meters-infrared-camera/
Device placement matters too. Do not hold the phone constantly in your hand if you can avoid it. Hand movement adds noise, bumps, and rustling. Place it on a stable surface or a small tripod, and keep it pointed the same way throughout the session. If you are investigating a larger space, note where the phone was placed and what it was facing. That turns your recording into evidence you can actually compare later.
Using Your Phone Microphone for Clearer EVP Sessions
The phone microphone is one of the most useful tools for beginner EVP work, but it needs discipline. A lot of poor EVP sessions happen because people speak too quickly, move too much, or record in a noisy file format. To improve your odds, record in a high-quality format if your app allows it, preferably WAV instead of a compressed format. Research also suggests using higher sample rates and bit depth, such as 44.1 to 48 kHz at 16 to 24 bit, to preserve more detail. Source: https://aeb.bbn.mybluehost.me/ghost-hunting-gear-how-to-use-evp-recorders-emf-meters-infrared-camera/
Keep your mic stable and your distance consistent. If you are asking questions, speak clearly and then stop. Do not whisper over your own response or shuffle around while waiting for an answer. Give the room time to respond. Some investigators like to ask one question at a time and leave a long silence afterward so any unexpected sound is easier to isolate during playback.
It is also smart to label every session thoroughly. Include the time, location, equipment settings, and environmental conditions. That way, when you review the file later, you know whether a strange sound happened near a window, next to a charger, or in a room where people were walking overhead. Good labels are part of good evidence. Source: https://aeb.bbn.mybluehost.me/ghost-hunting-gear-how-to-use-evp-recorders-emf-meters-infrared-camera/
If you are using app-based spirit-box or audio-fragment tools, stay skeptical. Many apparent responses can be radio fragments, environmental noise, or pareidolia, which is the tendency to hear patterns in random sound. To reduce misinterpretation, structure the session around specific questions, target words, and timestamps, and review the file with fresh ears later instead of deciding in the moment that every noise is meaningful.
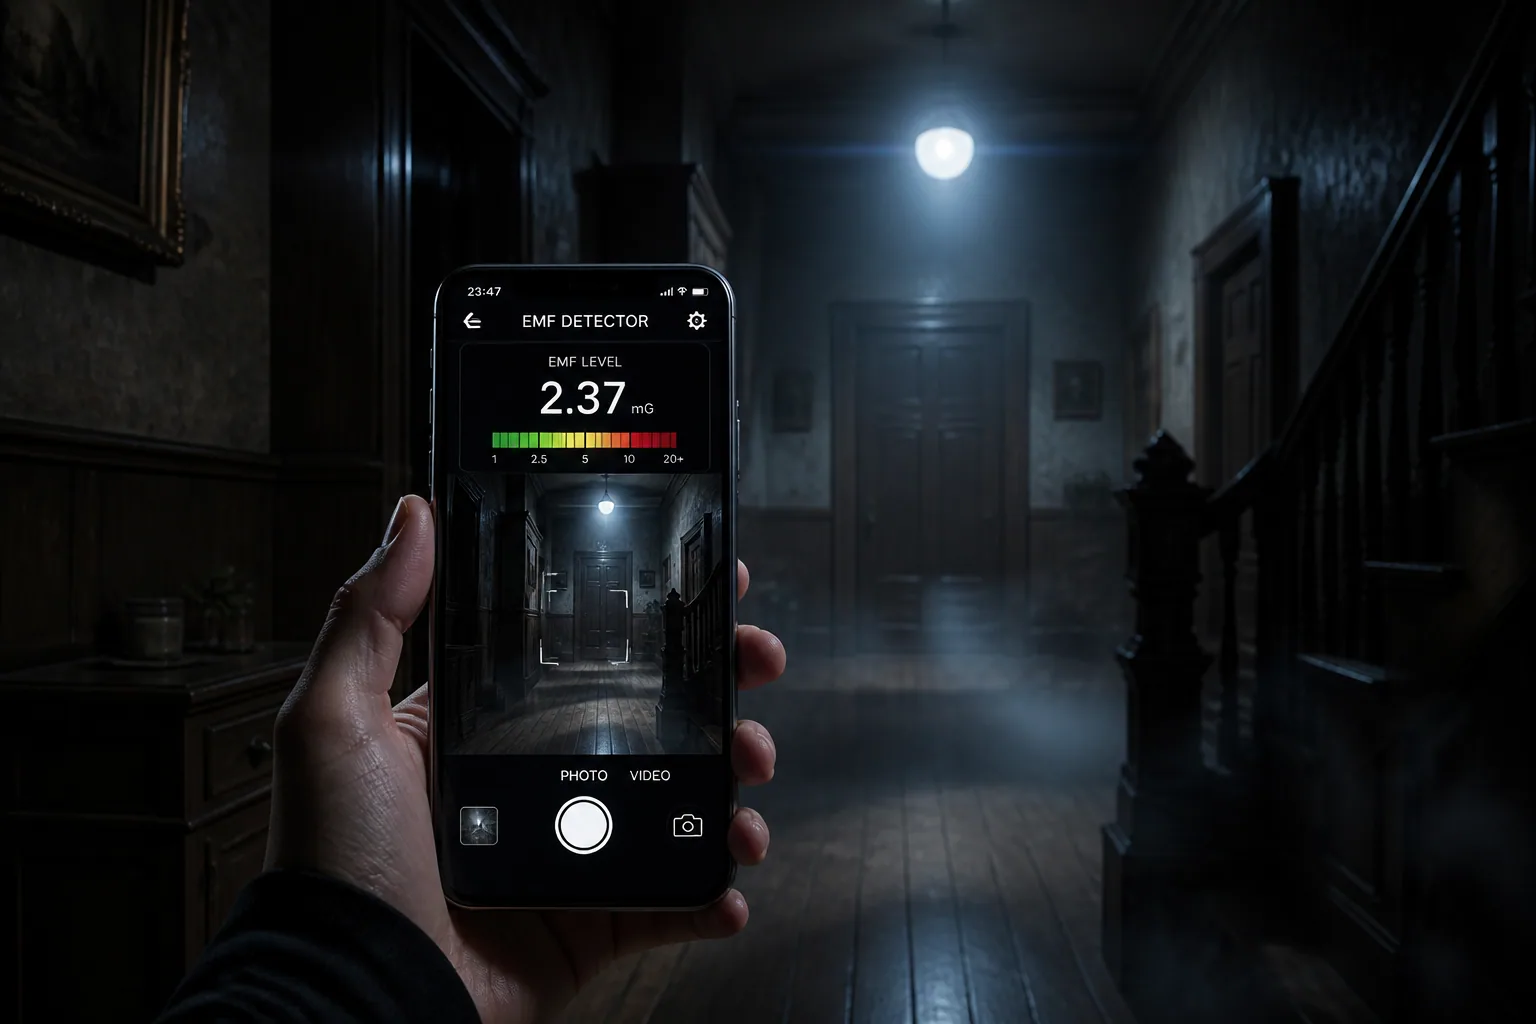
How Magnetometer and EMF Apps Work and How to Test Them
Many ghost hunting apps claim EMF detection, but on a phone that usually means the built-in magnetometer, not a true standalone electromagnetic meter. That sensor can still be useful for relative changes, especially if you are comparing one area to another, but it is not a magic ghost detector. Apps with magnetometer features only work properly if your device actually has a hardware compass sensor, and even then nearby metal, the phone case, and electronics can affect the reading. Source: https://www.spiritshack.co.uk/blog/ghost-hunting-apps/do-ghost-hunting-apps-work/
A simple test can tell you whether an app is at least responsive. Move a magnet past the phone and see whether the reading changes. If the app does not react in a predictable way, be cautious about trusting it. Do not assume that every compass app or every phone model will behave the same way. Source: https://www.spiritshack.co.uk/blog/ghost-hunting-apps/do-ghost-hunting-apps-work/
This caution is backed by research on sensor accuracy. Studies show that magnetometer and orientation sensor accuracy varies widely across smartphone models, with mean errors in pitch of around 2 degrees and roll of about 6 degrees depending on the phone. In field tests, iPhones were within about 10 degrees of traditional compass or satellite-image-derived directions, which is good enough for many casual uses, but still not precise enough to treat as scientific proof. Sources: https://pmc.ncbi.nlm.nih.gov/articles/PMC7880912/ and https://www.sciencedirect.com/science/article/pii/S0191814117301529
The best approach is to treat phone EMF readings as relative data. First, do a baseline survey of the location. Measure around outlets, lights, routers, cables, chargers, and other common sources at different times if possible, then map what normal looks like. After that, compare any unusual spikes against the baseline instead of assuming every jump is paranormal. Common false positives include faulty wiring, appliances, Wi-Fi, cell signals, power lines, and even the phone itself. Sources: https://hauntedhosts.com/library/explainers/what-is-an-emf-meter-and-why-do-ghost-hunters-use-them/ and https://ghostlyactivities.com/ghost-hunting-with-electromagnetic-fields/
Ghost Hunting Apps: Useful Tools vs Total Gimmicks
Not every ghost hunting app is equally useful. Some apps are genuinely helpful because they organize data, keep logs, or make it easier to capture repeatable evidence. Others are mostly entertainment. A good rule is to ask whether the app helps you measure, record, timestamp, or organize something real. If the answer is no, it is probably not an evidence tool.
Useful apps usually do at least one of these things well: record audio cleanly, keep time-stamped session logs, show sensor changes in a readable way, or make it easier to review a session later. Gimmicky apps often produce dramatic effects with little transparency. If an app claims a spirit response but cannot explain what triggers it, it should be treated as atmosphere, not evidence.
The most practical apps are the ones that support your workflow. A recorder with clear file naming, a sensor logger with export options, or a session history feature can be much more valuable than a flashy interface. That is one reason all-in-one tools can be appealing for beginners, as long as you still verify what the app is actually measuring.
Camera Tricks for Low-Light Video, Orbs, and Unusual Visuals
A phone camera can capture a lot, but low-light footage is where many false claims start. Grain, dust, moisture, insects, and autofocus hunting can all create strange-looking visuals. To improve your chances of useful footage, stabilize the phone on a tripod or flat surface, avoid pointing it directly at bright lights, and keep a timestamped log of where the device is placed and when something unusual happens. That makes it easier to compare the footage with your notes later. Source: https://hauntedhosts.com/library/explainers/beginners-guide-ghost-hunting-equipment/
If your phone has night mode, use it carefully. Night mode can brighten a scene, but it can also blur motion and exaggerate tiny particles. If possible, shoot both video and stills. A still frame can sometimes reveal whether an “orb” was actually dust close to the lens, a reflection, or a sensor artifact. The more context you collect, the less likely you are to overstate a visual anomaly.
For darker spaces, some phones do better than others. Full-spectrum or night-vision capable devices can be useful, but even without specialized gear, you can improve results by keeping the camera steady, minimizing movement, and preserving consistent lighting conditions throughout the session. A consistent setup is far more persuasive than a dramatic one.
Capturing Better Evidence by Combining Audio, Video, and Sensor Data
The strongest phone-only evidence usually comes from overlap. If you hear an unusual sound, see a visual change, and record a sensor spike at roughly the same moment, your case is much more interesting than if you have only one strange file. That is why it helps to run your session like a small investigation rather than a random filming exercise.
Use one device or one app for the main recording if you can, then keep your notes separate. Ask a question, wait, check the sound, watch the camera view, and watch any sensor readings. After the session, compare the timestamps. Did the EMF spike happen when someone touched the phone? Did the sound match a floor creak? Did the visual anomaly occur when the autofocus shifted? Layering the evidence helps you sort real oddities from ordinary explanations.
The best sessions are also the ones you can reproduce. If you get a strange result in one room, repeat the setup on another night. Investigate from the same position, use the same pause length, and keep the same equipment settings. Repetition is one of the simplest ways to tell whether an event was a one-off coincidence or something worth investigating further.
Easy Post-Processing Tips Without Faking the Footage
You do not need advanced editing skills to make a session reviewable. Start with the basics: trim dead time only if necessary, keep the original file untouched, and make a duplicate for edits. Then use simple tools to add timestamps, clip labels, or section markers so you can revisit key moments faster.
Do not over-edit the evidence. Heavy filters, exaggerated contrast, artificial sound cleanup, or effects can make honest footage look suspicious. If you need to improve readability, do it transparently. For example, note that you increased brightness on a review copy, but keep the original available. That way viewers can trust that you are documenting the session, not manufacturing it.
Good post-processing is mostly about organization. Rename files by date and location, keep a short log of notable moments, and store your audio, video, and sensor files together. If you plan to share the evidence publicly, having the original files and clear notes gives your audience something concrete to evaluate.
Common False Positives That Ruin Paranormal Evidence
Most bad evidence fails because the investigator did not account for obvious causes. In audio, the biggest culprits are clothing rustle, footsteps, pipes, traffic, electronics, and room echo. In EMF readings, wiring problems, chargers, routers, cell reception, and even the phone’s own hardware can create spikes. In video, dust, insects, reflections, lens flare, compression artifacts, and autofocus errors can all look spooky.
Pareidolia is another major issue. People naturally search for meaning in noise, shapes, and fragments. That can make a random radio-like sound feel like a response, or make a shadow seem intentional. The solution is not to become cynical. It is to become methodical. Ask repeatable questions, note exact times, and compare what you captured against what was happening in the environment.
If possible, have another person review the evidence without telling them what you think you saw or heard. A second set of ears or eyes can help separate a genuine anomaly from a strong first impression.
Safety, Ethics, and Legal Rules for Mobile Ghost Hunting
A responsible investigation is safer, more respectful, and more useful. Always get permission before entering private property. If you are on public land or in a semi-abandoned location, make sure you are allowed to be there and that you are not trespassing. Bring adequate lighting, wear protective clothing where needed, and avoid going alone if the location is unstable or isolated. General ghost-hunting guidance consistently emphasizes safety, lighting, and having multiple people present when necessary. Source: https://aeb.bbn.mybluehost.me/ghost-hunting-gear-how-to-use-evp-recorders-emf-meters-infrared-camera/
Privacy matters too. Do not record people without consent if you can avoid it, and be mindful of where your camera and microphone are pointed. Public investigations can easily capture bystanders, neighbors, or workers who did not agree to be part of the story. If you are sharing data later, anonymize locations or names when appropriate.
It is also smart to keep your phone in airplane mode or disable notifications during a session. That reduces accidental sounds, buzzing, and interference. It also helps you preserve battery life and avoids having incoming calls or alerts ruin a key moment. For data handling, keep notes secure and include date and time stamps so your logs stay useful without exposing unnecessary personal details. Source: https://autismresourcesmidsouth.org/wp-content/uploads/2019/11/Our-Ghost-Hunting-Rules-2019.pdf
Best Practices for Sharing Your Findings on Social Media or YouTube
If you are posting ghost hunting content online, your credibility depends on how you present the session. Do not oversell weak evidence. Instead, show the setup, the baseline, the timestamps, and the follow-up review. People are much more likely to trust a creator who explains what could have caused a reading than one who claims every little blip is proof.
Keep the format simple. Introduce the location, explain what tools you used, and show the exact moment something unusual happened. Then offer your interpretation as one possibility, not the final truth. That approach actually makes the story more interesting because viewers get to think with you instead of just being told what to believe.
If you are sharing short-form clips, make sure the evidence is still understandable out of context. A 15-second cut can be exciting, but if the audience cannot tell where the phone was placed or what was happening before and after the anomaly, the clip loses value. Save the full session somewhere if possible so serious viewers can inspect it.
Final Checklist for a Successful Phone-Only Ghost Hunt
Before you start, check your battery, storage, microphone access, camera settings, and sensor app permissions. Put the phone in airplane mode, bring a charger or power bank if allowed, and make sure notifications are off. Then prepare the location by removing obvious noise sources, identifying your recording position, and taking a short ambient baseline.
During the session, speak clearly, leave long pauses, keep the phone steady, and note every timestamp that matters. If you are testing EMF readings, compare them against a baseline instead of reacting to every spike. If you are filming in low light, stabilize the device and avoid bright reflections. If something odd happens, document it from as many angles as you can without forcing the evidence.
Afterward, review the audio, video, and sensor logs together. Label anything suspicious, look for mundane explanations first, and keep the original files untouched. With that workflow, your smartphone becomes more than just a camera. It becomes a practical, beginner-friendly investigation kit that can help you capture cleaner, more believable evidence without expensive gadgets.
